Prefer text? Read on for an overview of the basic controls, tricks & tips that will help you create amazing custom made sports equipment & apparel!
If you are ready to design & order personalized sports goods, here are a few basics that you might find helpful!
No, you don’t have to be a design guru (although if you are, you can use these blank templates & use your favorite design software to create something special) to plunge into creating personalized items because our design interface is quite simple, comes with a Guided Tour when you first visit a product page and only requires a few steps to come up with something truly original.
Also just a reminder, you can always use our Free Design Service if you are unsure about designing, need help to refine the edges or are simply short on time. Our design team would love to help but if you are in a DIY mood, then read on.
To make this experience easier for you, we are sharing the “how to” of various steps a customized design entails. Let’s go!
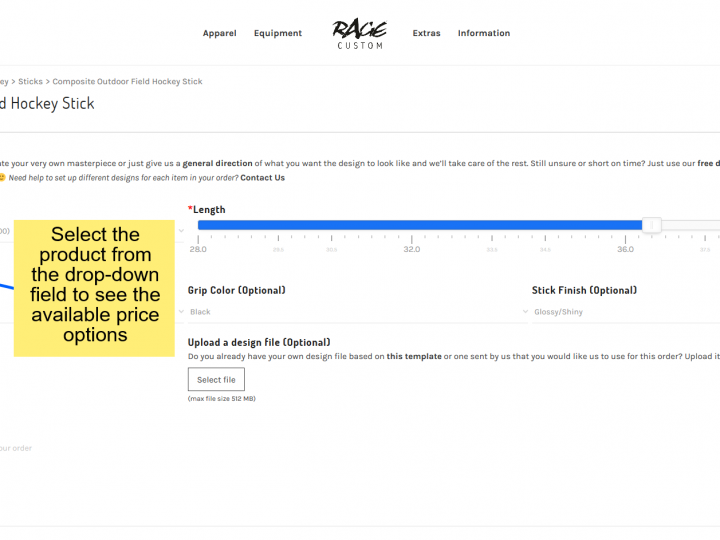
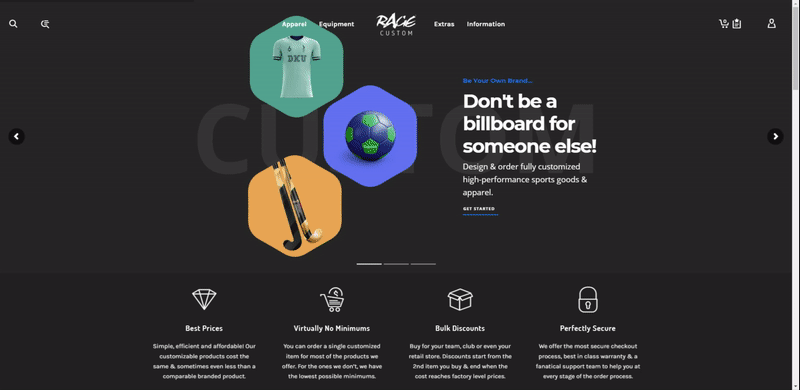
Choosing your product
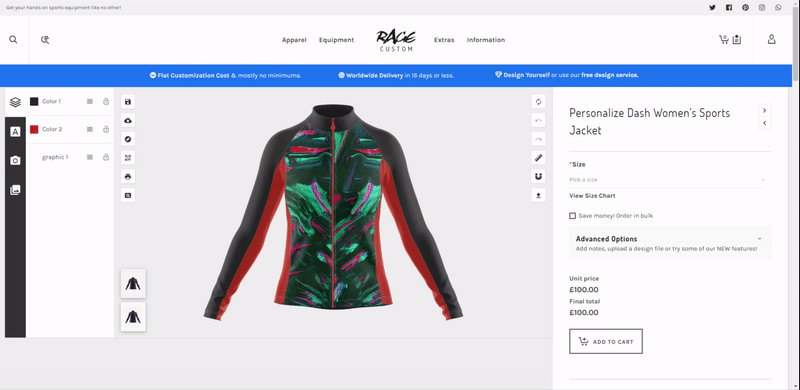
In the “Top Menu”, you can browse through our collection of products and click on the item of your choice. When you click on a product’s thumbnail you will see the ready to buy version.
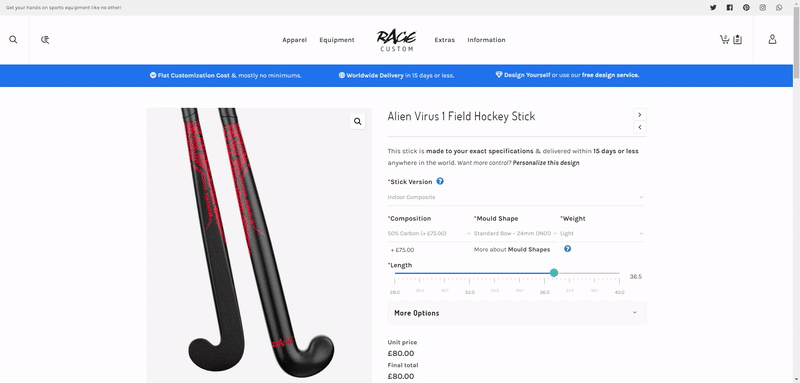
Personalizing or customizing the design
If you are looking to add a bit of personal touch you can scroll down slightly and click on the Personalize button. The Personalize option lets you edit the design of whichever product you are on.
If you are looking to design from scratch you can click/tap on the “Design from Scratch” tab underneath the personalize section, which will take you to a blank version of that product.
Underneath that, you also have the “Let us design for you” tab, through which you can get in touch with our design team to create a design for you at absolutely no extra charge.
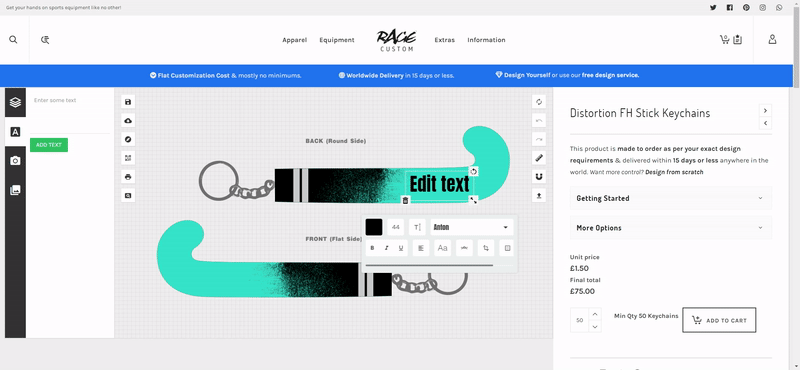
Add and edit text
Click on the “Add Text” tab or simply double click on the text visible in the design panel to add/edit your text.
When you select a piece of text, a features panel will pop-up which allows you to choose from a number of text editing options like font, size, style, and color. You can customize this text both on the front and back side of the product. For instance if you are customizing a hockey stick, you can add text on the round and flat side up to your preference.
Not happy with the text you entered? You can undo or delete it also! Easy, right?
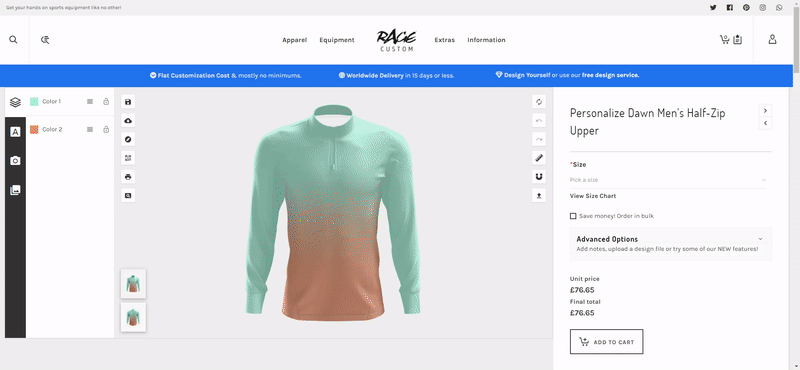
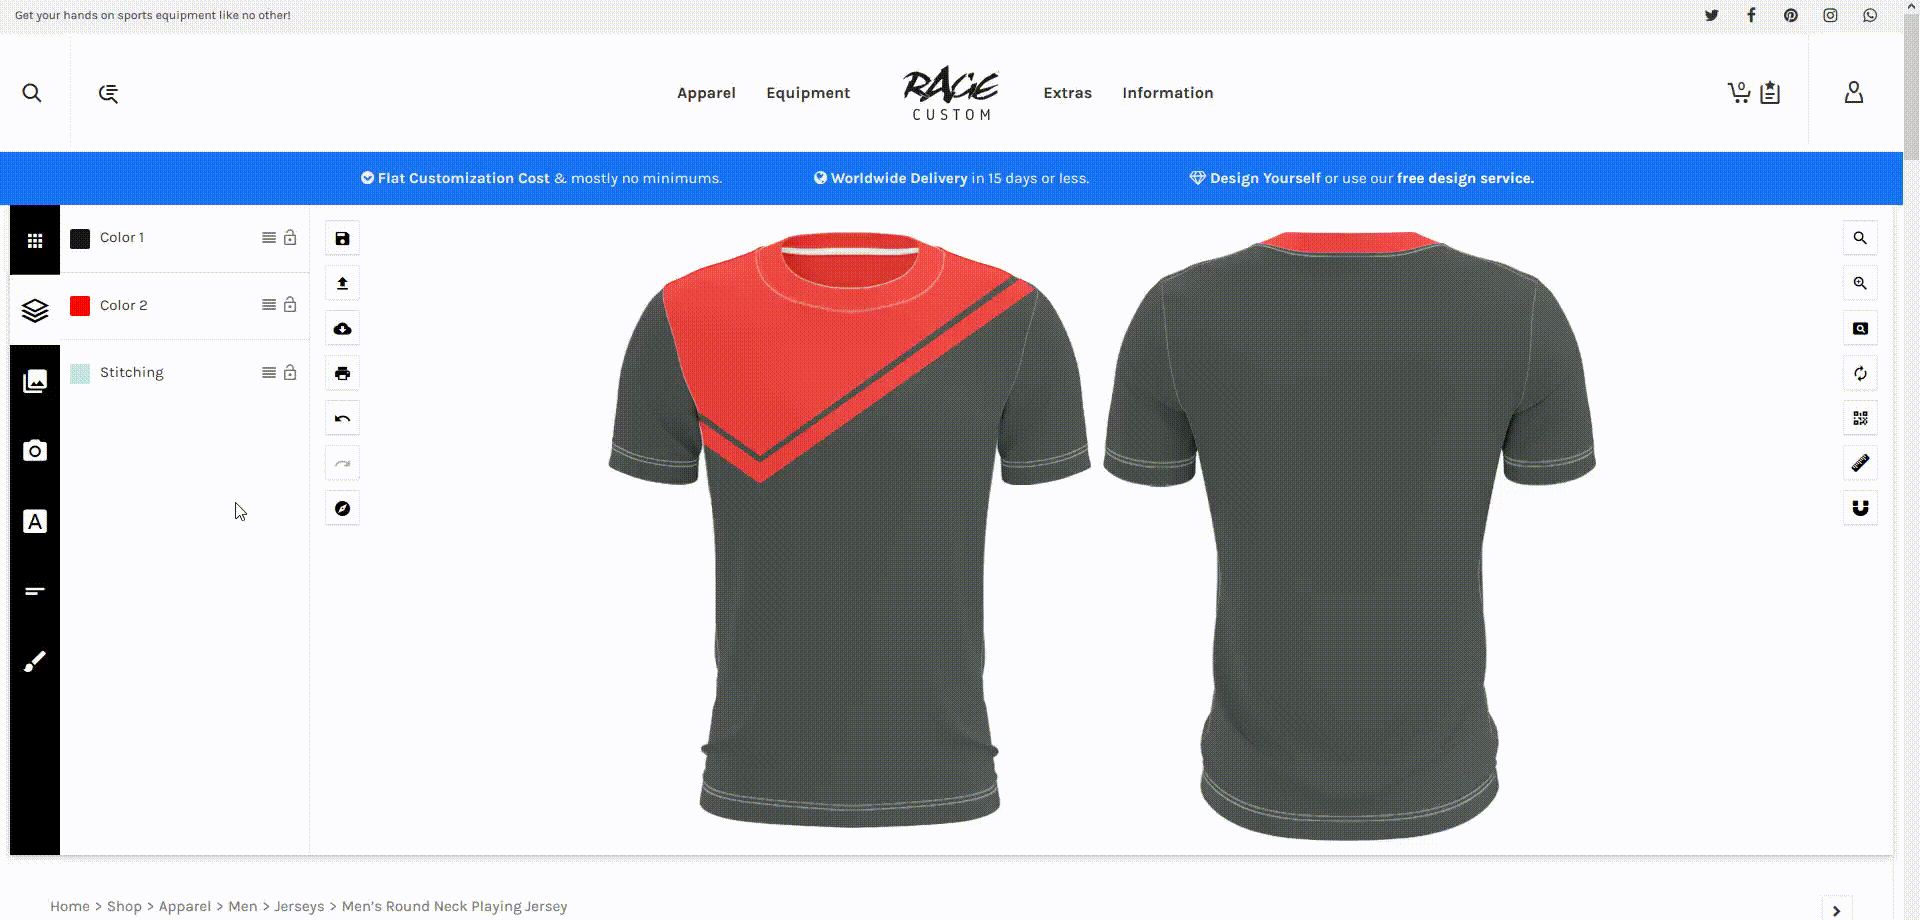
Change product colors
Now that you have edited the text, it’s time to primp up your product a little!
The first option is to change the color from within the Layers Tab, as shown below.
Secondly, you can also click on the product itself, and you will see a tab with two options “Fill”, and “Reset”. Click “Fill” and choose from the spectrum of various shades.
You can also change the transparency of shade from the drop-down “Fill” menu. Once you like a hue, it’s always wise to note down the code in case you are up for designing your sports kit around a same theme or color.
Does the design still look quite plain? Read on!
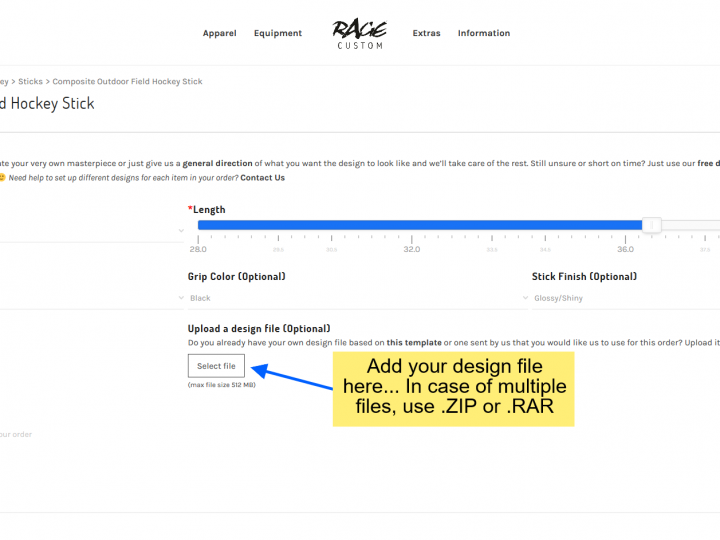
Upload a Graphic
If you would like to add any graphics like logo files etc., we got you covered!
On the editing dashboard, go over to the tab titled “Add Image”. Drop the image file(s) (JPEG, PNG or SVG) on the upload zone or click it to open the file-picker window. Once your image uploads you can drag, transform and reposition it from the drop-down menu below the image. Resize it according to the width of your product and voila! You have your personalized item ready!
Note: Make sure the image dimensions are within the following limits:
Minimum Width: 25 pixels
Minimum Height: 25 pixels
Maximum Width: 5000 pixels
Maximum Height: 5000 pixels
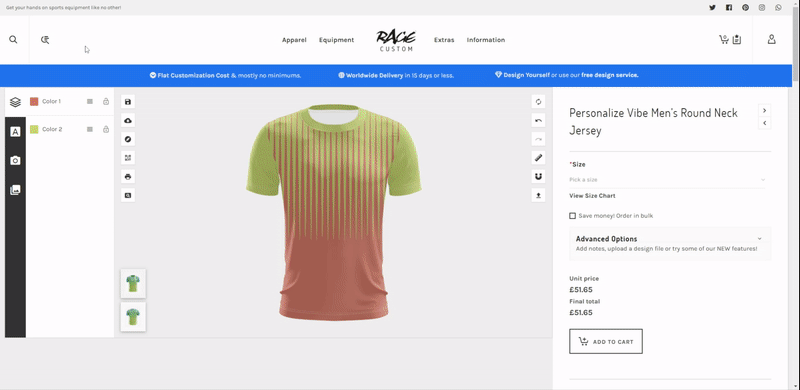
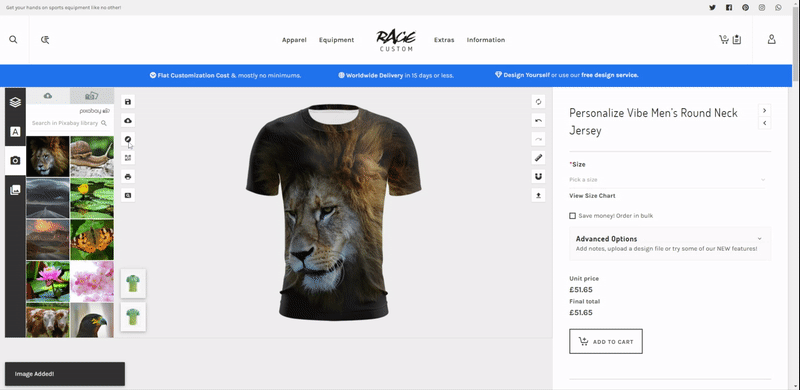
Incorporating an image
We use the latest digital printing techniques which enable us to print HD quality images on most of our products especially sportswear.
You can upload your own image or use our Pixabay integration to search and select an image that you’d like to use.
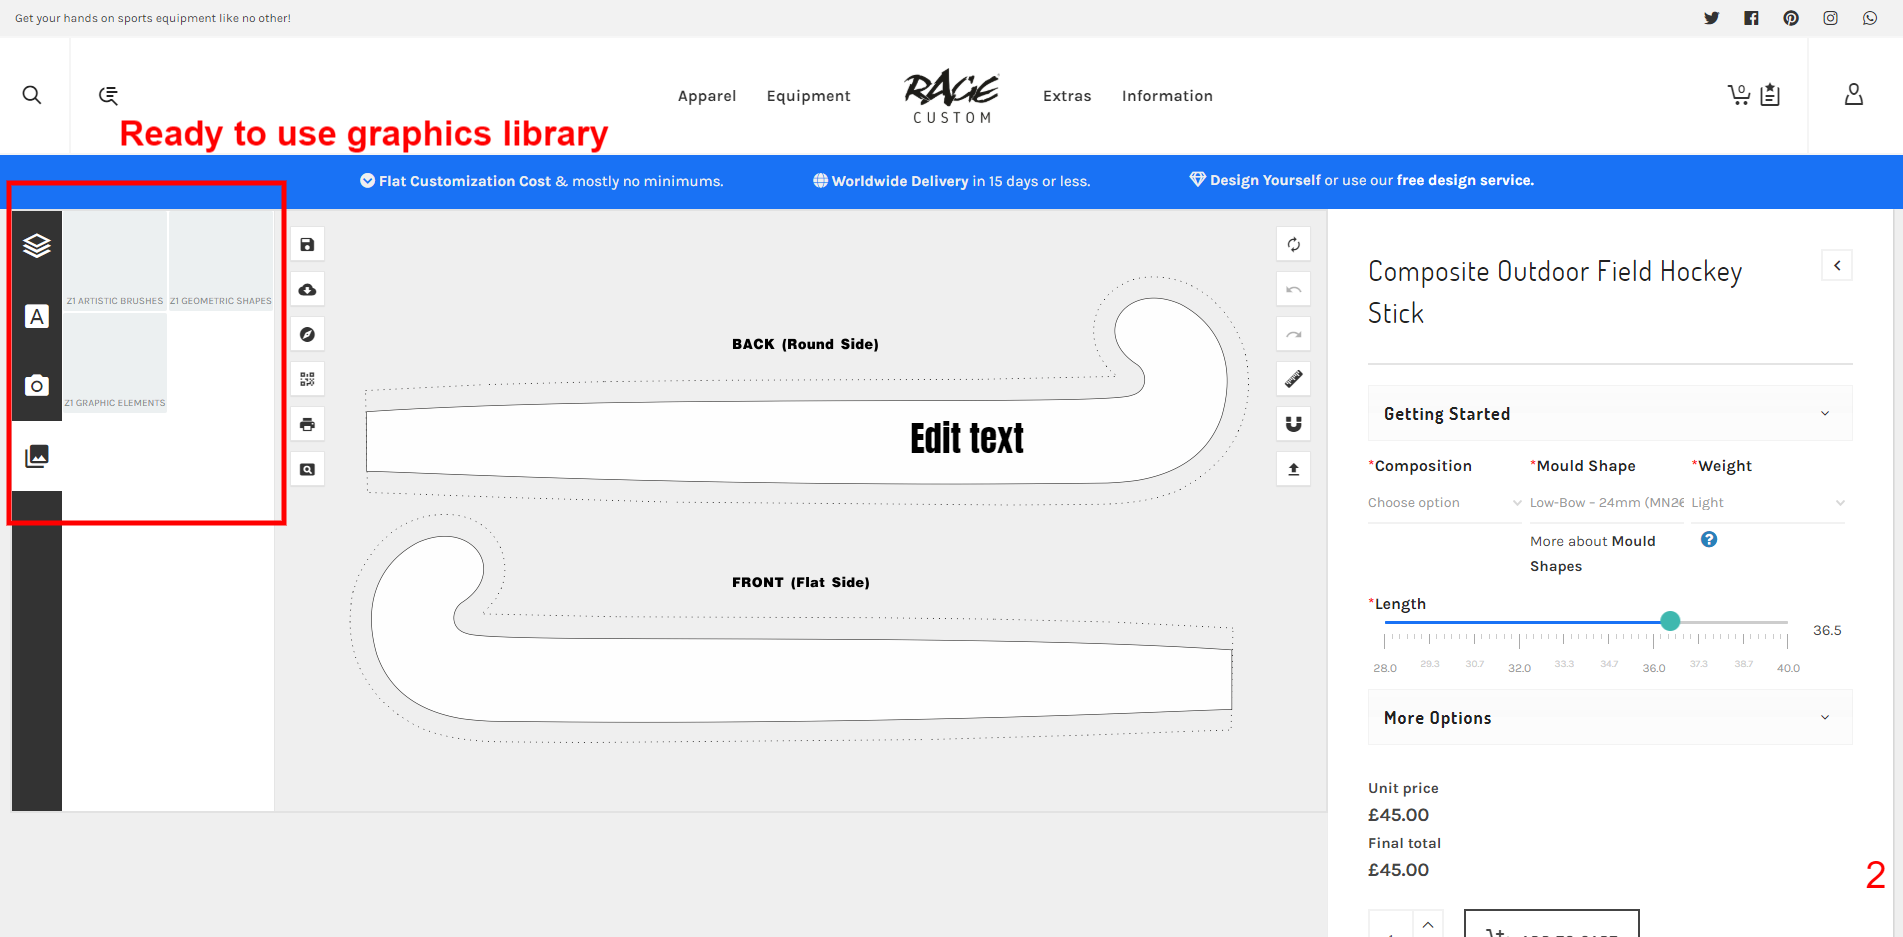
Use Pre-Built design templates
Looking for more options? Our built-in design library has tons of options for you.
Select the “Choose From Designs” tab on the dashboard and browse through our collection of pre-built designs!
Z1 Artistic Brushes – Your go-to option for contemporary graffiti based designs.
Z1 Geometric Shapes -A library to accentuate your design with the classic geometrical shapes.
Z1 Graphic elements – Similar to Artistic brushes but with a greater design variety.
For a few products, there are additional graphics libraries available. These will differ on a product to product basis.
Manage Layers
Our “Manage layers” option is designed keeping in view the arrangement of the graphics.
Move over to the “Manage Layers” icon on the dashboard, and drag the different objects up or down to layer them to suit your needs.
Save and share with us or others!
Need a bit of help to perfect your design? Or perhaps you are looking to collaborate with others so they can suggest design changes or order for themselves by adding their name etc.
Your first option is to Download the Design as a PNG, JPEG or PDF and share it with others. Note, that with this option the design does not remain editable but its a useful option if you want to just show the design.
Your second option to use the Design Share link. As shown below, once you click on the SHARE DESIGN button a unique link is created for you. When someone clicks on this link, your design will open from where you left off and others can either make changes and send you a link back or make changes and order that design for themselves. The links that you generate using this option will expire after 365 days.
Lastly, if you need any help simply Contact Us and our design team will be happy to help you from design to dispatch.
Updated 1st August, 2021